How to make rice for Sushi a step-by-step guide
Sushi rice also referred to as “Shari,” is a crucial ingredient to regulate the overall flavor and texture of sushi. The perfect balance of sweetness, tanginess, and stickiness from the vinegar seasoning should be present. Sushi rice is not your typical steamed rice. Each step necessitates meticulousness and a sincere love of the craft of making sushi. Here’s a step-by-step guide on how to make rice for sushi:Introduction – How to make rice for Sushi
By allowing the rice to absorb moisture, soaking it improves both its texture and flavor. The rice must be cooked precisely and under close supervision to achieve the desired tenderness without overcooking. To ensure that every grain of rice is coated, the seasoning is gently incorporated into the rice. This gives the rice a delightful tang that goes well with the other sushi ingredients. The seasoned rice must rest before the process is complete to allow the flavors to meld and the rice to slightly cool. The optimal stickiness and flavor distribution of the rice are achieved during this resting period. As soon as the sushi rice is ready, you can start creating a variety of sushi dishes that highlight the delicious interplay of textures and flavors. No matter, if you have had sushi before or not, perfecting the art of sushi rice, will set the stage for an unforgettable sushi experience best tips how to make rice for sushi.Here are the required ingredients to make rice for sushi
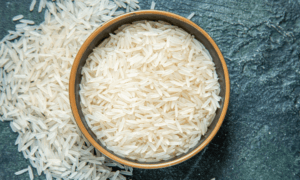
- Sushi rice, 2 cups
- Water, 2.5 cups
- Rice vinegar, 1/4 cup
- Two teaspoons of sugar
- One teaspoon salt
Step 1: Cleaning the Rice – How to make rice for Sushi
It is essential to thoroughly rinse the rice for the best sushi rice texture. The 2 cups of sushi rice should first be placed in a strainer. With your fingers, gently stir the rice in the strainer while it is submerged in cold running water. Due to the rice grains’ excess starch, the water will initially appear cloudy. The water should run clear after you have continued to rinse and stir. Rinsing the rice thoroughly removes excess starch and prevents the grains from sticking together.Step 2: Let the rice soak – How to make rice for Sushi
The rice should soak for about 30 minutes. Two things happen when you soak: First, it hydrates the rice grains, giving them a cooked texture that is more uniform and consistent. Second, soaking shortens cooking time, resulting in faster, more even cooking of the rice. If you are using short-grain sushi rice, which benefits from extra moisture before cooking, this step is especially crucial.Step 3: Prepare the rice
Drain the rice thoroughly after it has finished soaking. If you are using a pot, start with the drained rice and then add the water. Bring the pot to a boil. When the water has boiled, reduce the flames. Allow the rice to cook for about twenty minutes. Make sure to not exceed this time, as overcooked rice cannot be used for sushi. It is advised to keep checking the rice.Step 4: Prepare the Seasoning
It is time to make the sushi rice seasoning while the rice is cooking. Combine salt, sugar, and sauces. Stir the mixture over low heat. This low-heat procedure aids in imparting the vinegar with the sweetness of sugar and the salty flavor. Occasionally stirring makes sure that everything is well-combined and that the salt and sugar are distributed equally.Step 5: Season the Rice
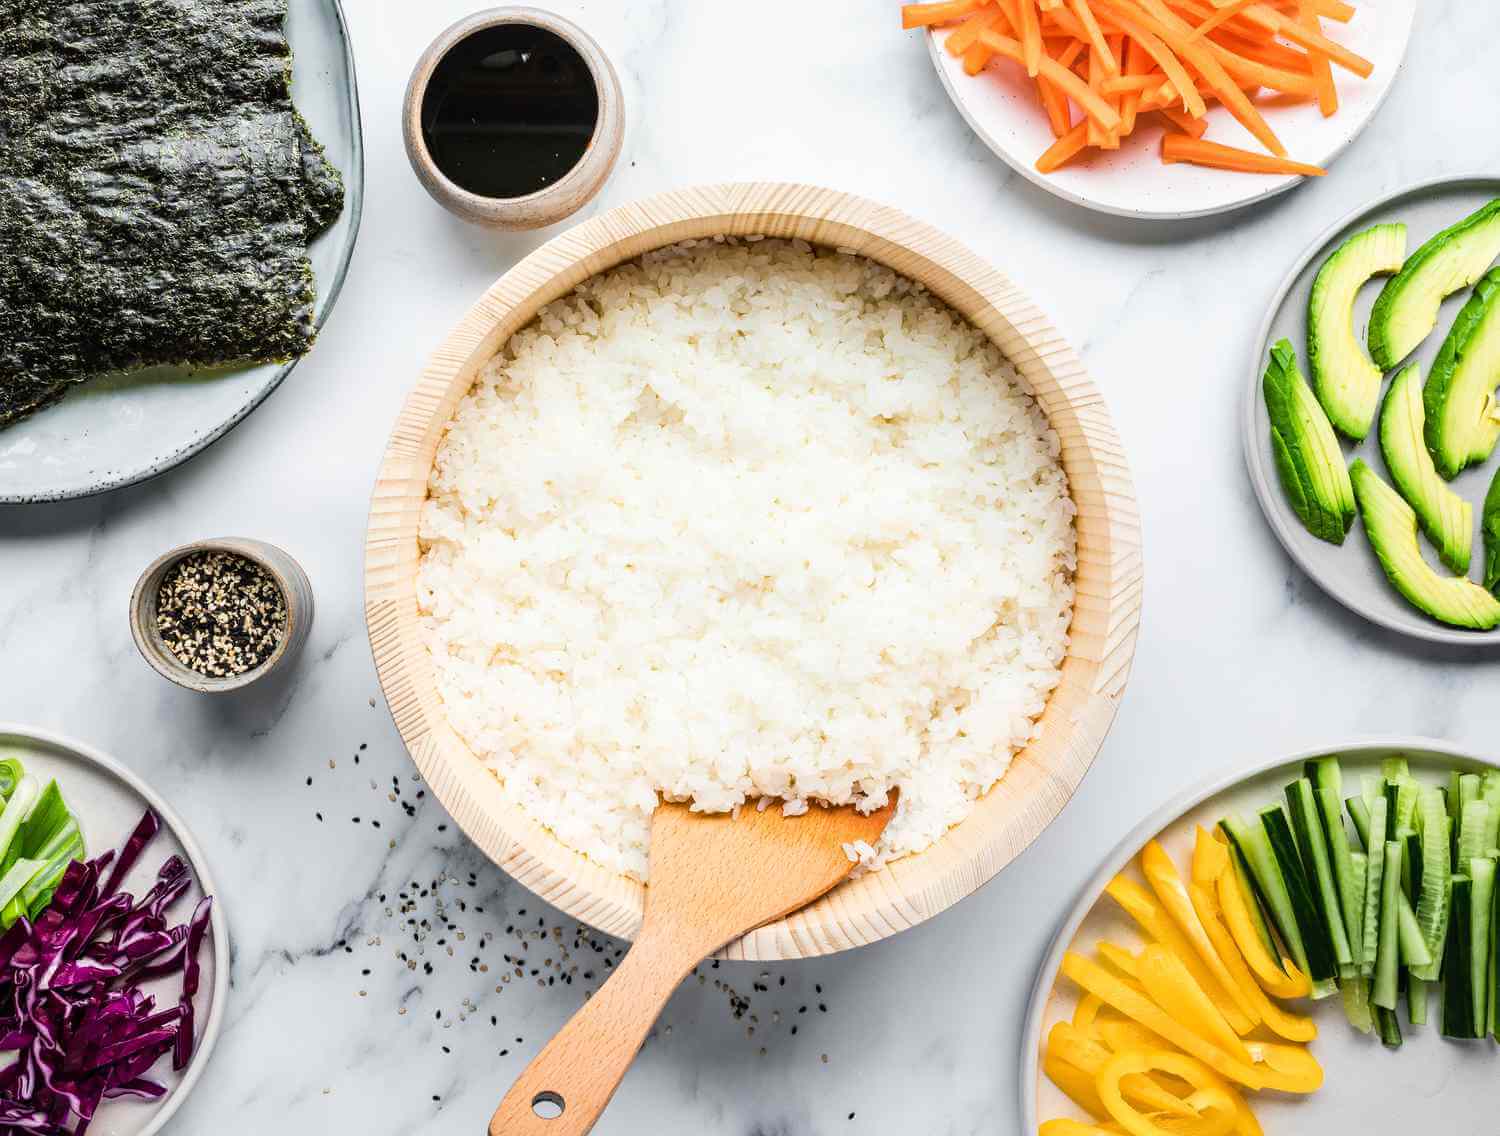
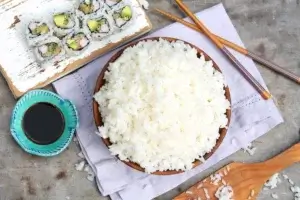 After the rice has finished cooking, place it in a big, shallow bowl or a hangiri, a traditional wooden sushi rice tub. To ensure proper seasoning absorption, work with the rice while it is still hot. Concentrating on an even coating, drizzle the seasoned vinegar mixture gradually over the hot rice. Using a wooden spatula or a rice paddle, fold and mix the seasoning into the rice. To avoid smashing or breaking the rice grains, use a slicing and folding motion. This procedure makes it possible for the rice to evenly absorb the flavors of the vinegar mixture.